In theory, the operation of many engine parts in an SMA can last from 6 to 8 years. But in fact, it all depends on the conditions and duration of operation of the equipment.
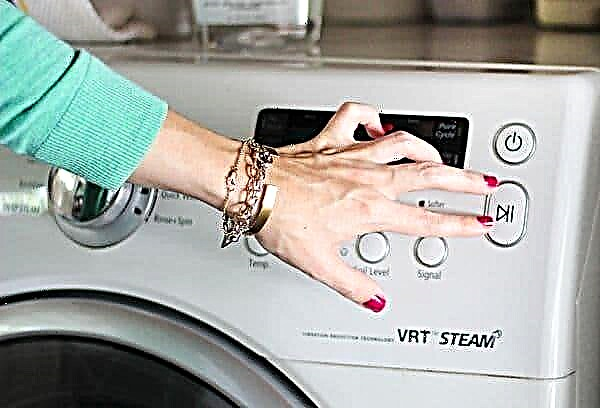
To find out if the brushes are worn out, it is worth paying attention to several factors:
- The electric motor dramatically lost its power. This may be due to the extension of the drive belt.
- Unusual washing noise. Although this phenomenon may be due to other reasons, for example: getting a small object into the space between the tank and the drum. Knocking may also occur if bearings are worn.
Reasons to replace brushes
Because of which parts can wear out:
- due to power surges;
- due to overloading the drum with linen and its imbalance;
- due to the constant selection of maximum spin speeds.
Types of motor brushes in the washing machine
Brushes come in three types:
- copper graphite;
- electro-graphitized;
- coal-graphite.

This information will help you choose the right analogues for your model car.
Let's look at a few important questions:
- Where are the brushes in the washing machine.
- Is it possible to repair the motor brushes.
- How to change brushes in a washing machine.
Body disassembly
Before proceeding with the disassembly, de-energize the equipment. To get to the motor, you need to remove the back cover of the machine. As a rule, it is held by several fasteners, which can be unscrewed using an ordinary screwdriver.
Next, proceed according to such a scheme repeatedly verified by the masters:
- Remove the drive belt by pulling it towards you while the pulley is spinning. If you do it right, the belt will snap off easily. Set the belt aside, at the same time inspecting its condition (it may need to be replaced).
- Disconnect the wiring from the engine to get it. To make the wires come off easily, pull the connector toward you.
- Typically, the motor is mounted inside the housing with screws or bolts. Unscrew them to get the part.

Replacing motor brushes
Replacing the motor brush of the washing machine should begin with the selection of new parts. To avoid accidental errors, you must clearly know the type and type of motor of your washing machine. To find out this information, find the sticker with the marking on the motor itself.
You can find new brushes in such places:
- In specialized stores selling spare parts.
- In service centers specializing in the maintenance of washing machines.
- In online stores.
Let's figure out how to put the brushes correctly:
- Unscrew the old brushes and inspect them. If your washer fails precisely because of them, then you will notice the extreme deterioration of these elements.

- Also inspect the collector by scrolling it with your fingers. If you find only modest scratches, then you can easily get rid of them using ordinary sandpaper.
- Carefully insert the brushes instead of the old ones, fix them using screws and a screwdriver.
- Next, spin the motor with your hands. This will give you an idea of how tight the brushes fit on the engine. During rotation, slight clicks should be heard.


If you are convinced of the correctness of all work, you can begin the reassembly of your SM.
Machine assembly
Now you know how to replace the brushes on the washing machine. But in order for the equipment to work properly, it is important to assemble everything as it was. And most importantly - so that there are no unnecessary parts and fixtures left, as is often the case in jokes.
Proceed as follows:
- Screw the engine into place using the fasteners.
- Return the washing machine drive belt to its original position. To do this, first put it on the pulley, then rotate it, holding the belt by hand. Turn the pulley a couple more times to make sure the belt is in the correct position.
- Connect the motor to the wires.
- Replace the back panel and secure with screws.
- Launch a test wash. If the machine’s work returned to normal, then you did everything right.
Important! At first, the brushes can tap a bit until they rub. Later this sound will disappear, do not worry.
As for the repair of brushes, then having taken them out, you yourself will understand that this element cannot be repaired - only replacement is possible.